How to setup your first substitution group?
Creating substitution mappings in the Substitutions app is a straightforward process. Follow these detailed instructions to set up your first substitution group and maintain efficient inventory management.
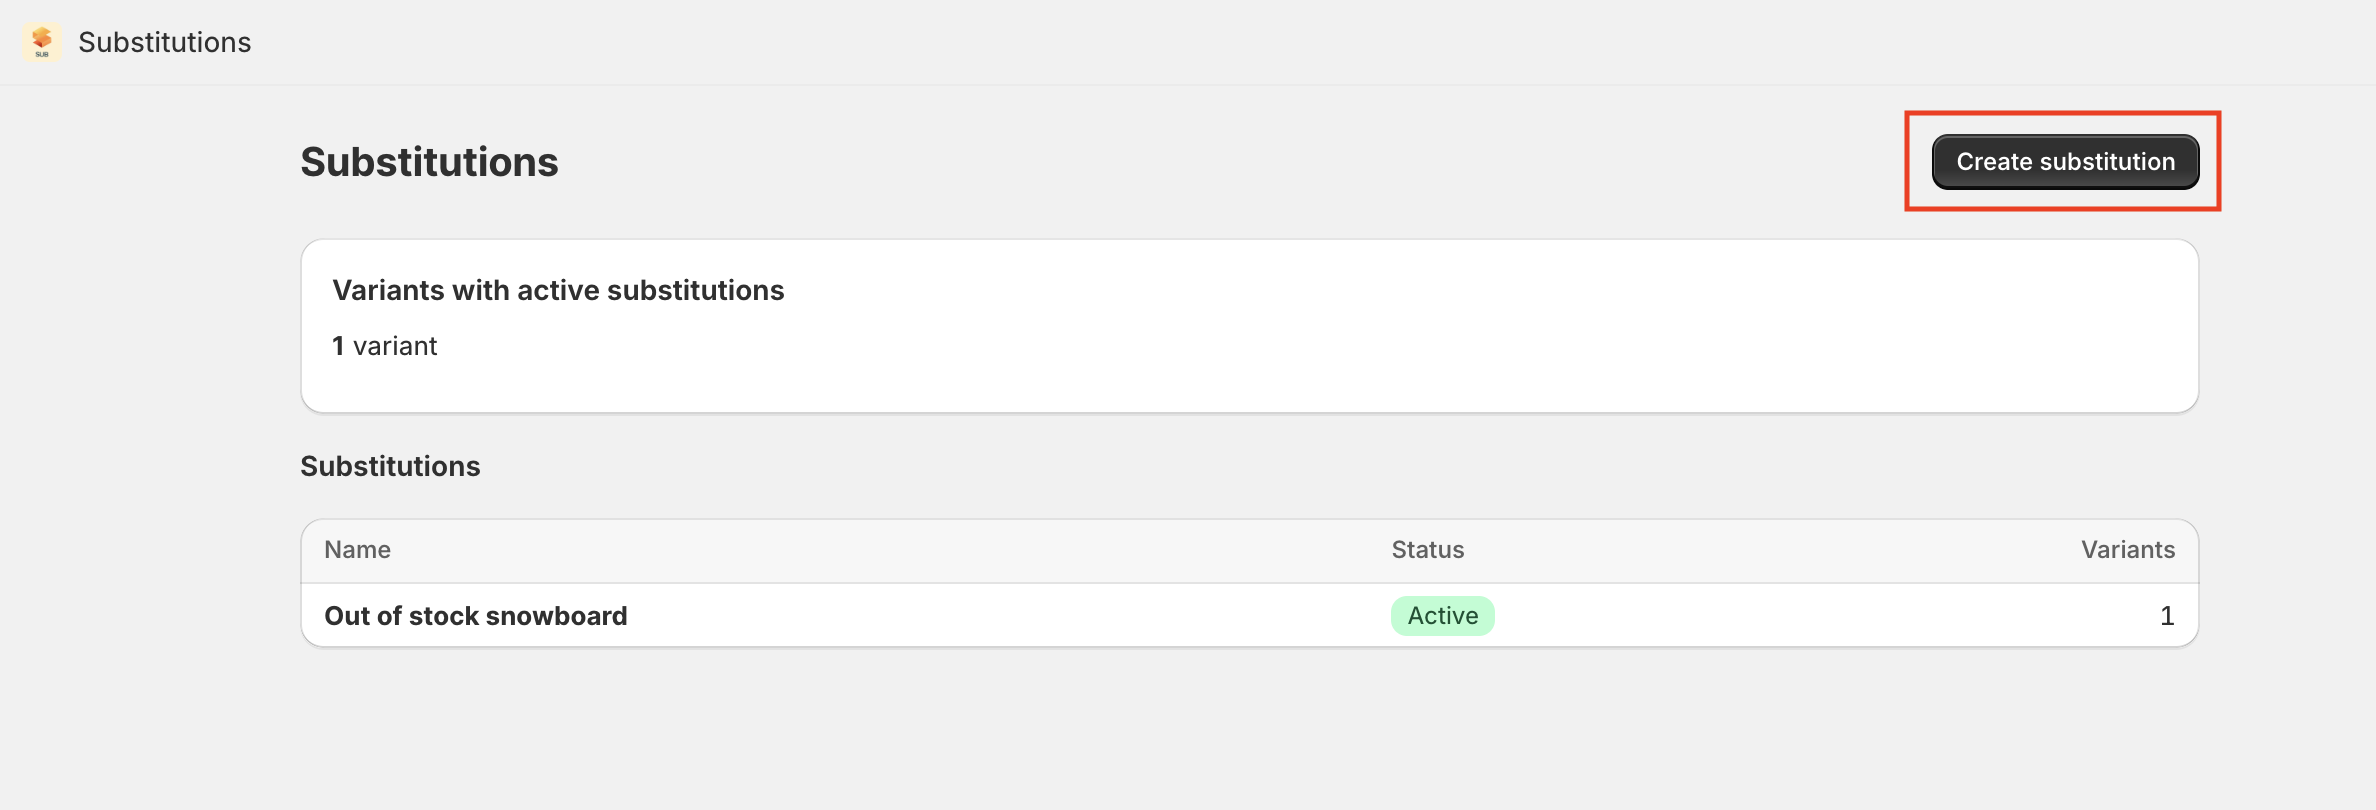
Create a New Substitution Group
1. On the Substitutions app dashboard, click Create substitution.
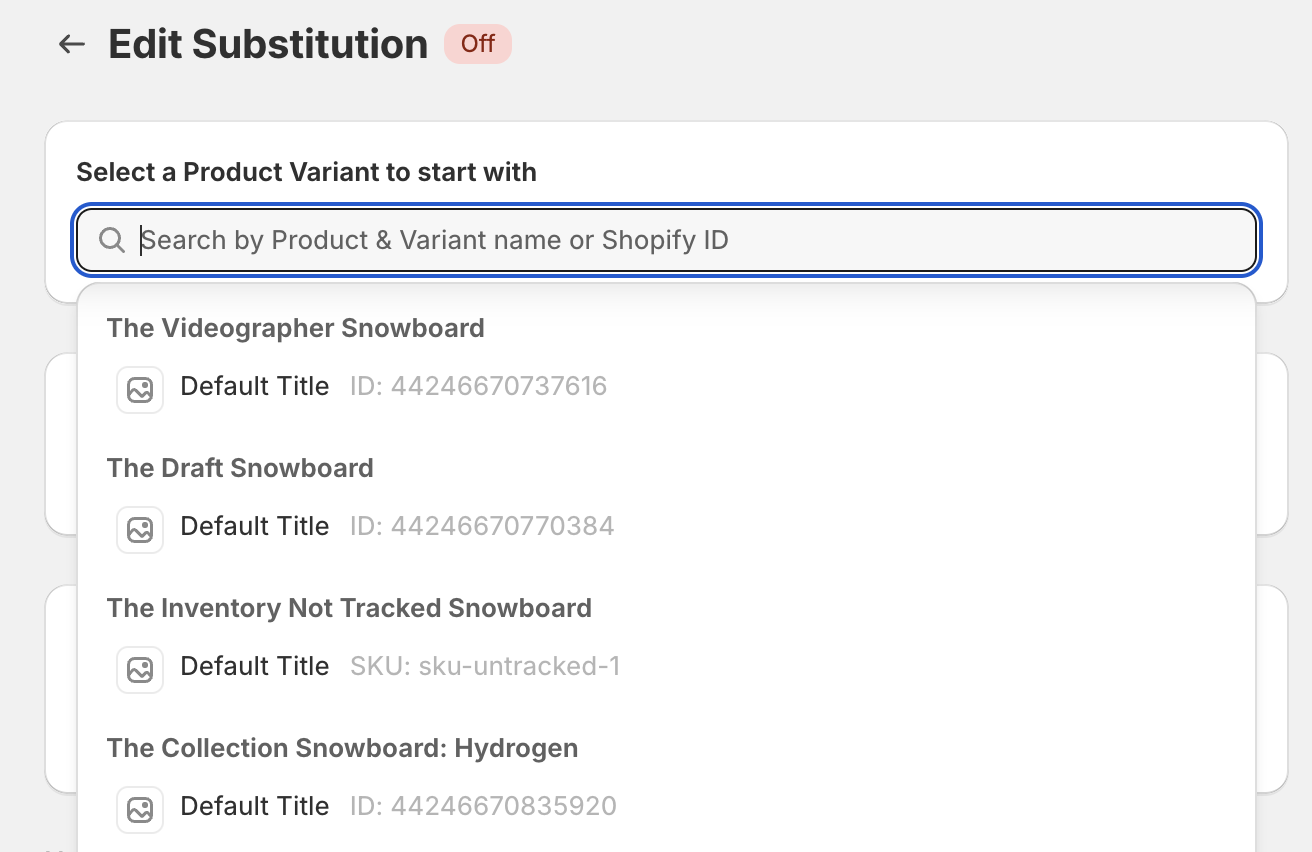
2. Create a name for your new substitution group.
3. Search for the primary variant you want to set a substitution for using the search bar.
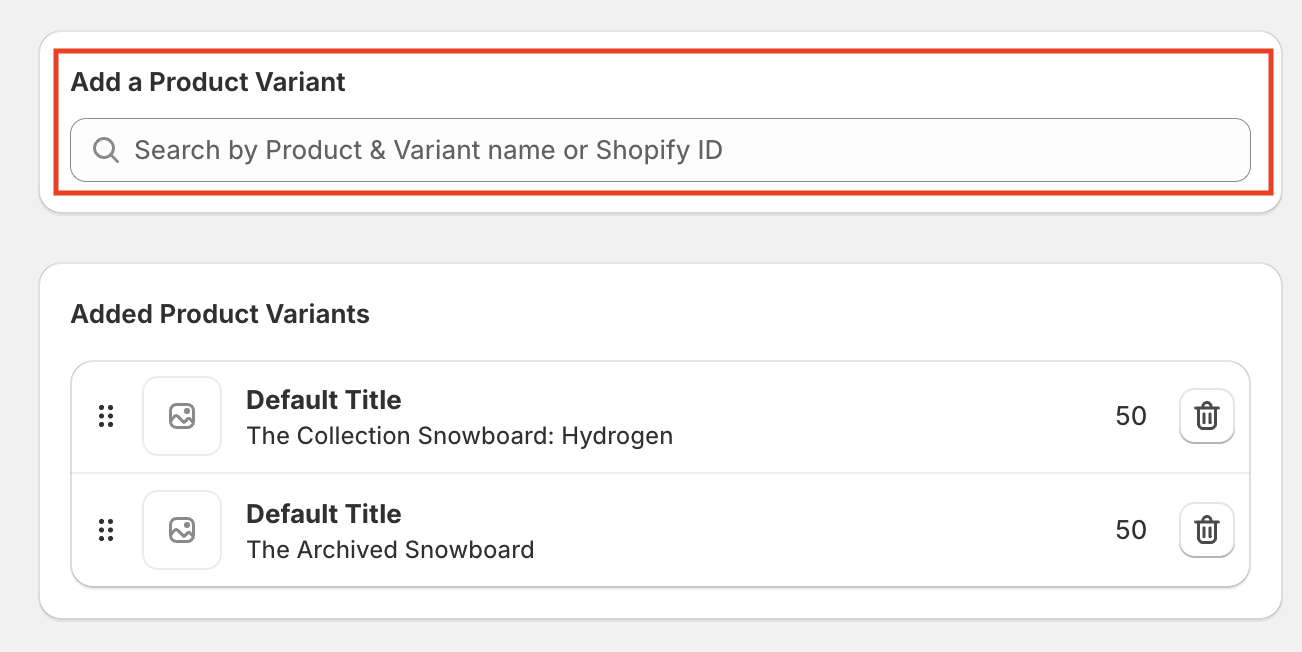
4. Once the product is selected, click on 'Add a Product Variant' and select the variants you'd like to be added to the substitution group.
5. Once you're done, click on 'Turn on substitution' to enable the automation.

Tips for Success
Maintain Relevant Substitutions: Ensure that substitute variants are the same or very similar to the original to decrease the likelihood of a customer complaint or dissatisfaction (e.g. it's the same color, size and price).
Update Substitutions Regularly: Regularly update your substitution groups to reflect changes in your product lineup or inventory strategy.
Setting up substitution groups can minimize missed sales opportunities and ensure your customers always have an available option, improving overall satisfaction.